
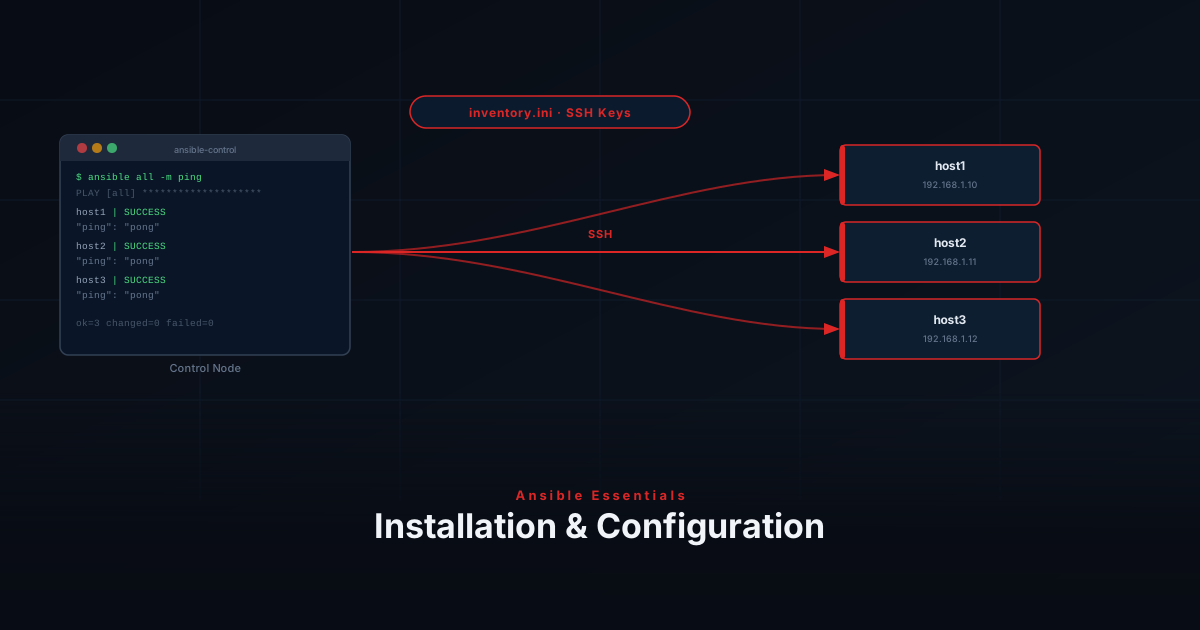
Ansible is a powerful automation tool that lets you manage your infrastructure using simple, repeatable playbooks. In this first part of the series, you’ll install Ansible, configure SSH access, and set up your inventory — then organize your automation into playbooks, roles, and handlers so your project stays clean and reusable as your homelab grows.
Install Ansible
Install Ansible on your local workstation or control node. In my case I use a my macbook as “control node”.
Ensure pip is available and up to date:
python3 -m ensurepip --upgrade
python3 -m pip install --upgrade pipInstall Ansible:
pip install ansibleVerify the installation:
ansible --versionSet Up SSH Key Access
Ansible connects to remote machines via SSH. To avoid typing passwords every time, set up SSH key authentication.
If you already use Tailscale to access your nodes, you can use Tailscale SSH instead of managing your own SSH keys.
Generate a key pair
ssh-keygen -t ed25519Press enter to use the default file location. Leave the passphrase empty for automation.
Copy your public key to a remote host
ssh-copy-id user@your-server-ipThen test your connection:
ssh user@your-server-ipIf you’re logged in without a password prompt, you’re ready to automate.
Project Structure
Here’s a basic layout for organizing your Ansible project:
homelab-ansible/
├── ansible.cfg
├── inventory/
│   └── hosts.yml
└── README.mdCreate the Ansible configuration file
The ansible.cfg file is typically located either in your home directory or in the /etc/ansible directory.
[defaults]
inventory = ./inventory/hosts.yml
host_key_checking = False
retry_files_enabled = False
timeout = 10This configuration:
- Points to your inventory file
- Disables SSH host key prompts
- Improves reliability by disabling retry files and adding a timeout
Define Your Inventory
Create a static inventory file to list your homelab machines. This file is typically placed in your current working directory, alongside your playbooks and roles in the inventory folder
all:
  homelab:
    hosts:
      server01:
server02:Replace server01 and server02 with actual IPs or hostnames.
Test SSH Connectivity
Use Ansible’s ping module to confirm everything is working:
ansible -m ping homelabEach machine should return pong if SSH and the inventory are set up correctly. With connectivity confirmed, you’re ready to organize real automation tasks using playbooks, roles, and handlers.
What Are Ansible Roles?
Roles are a way to organize your Ansible code into reusable, modular components.
A role has a standard folder structure (tasks/, handlers/ etc.), and can include everything needed to configure a specific part of your system.
Benefits:
- Keeps your playbooks clean
- Promotes reuse across multiple playbooks
- Encourages good organization
Example: Instead of writing all tasks inline, you just do:
roles:
- maintenanceAnd Ansible will run roles/maintenance/tasks/main.yml.
What Are Handlers?
Handlers are special tasks triggered only when notified by another task.
They’re usually used for things like restarting services or rebooting after updates.
Example:
tasks:
  - name: Update packages
    apt:
      upgrade: dist
    notify: Reboot if required

handlers:
  - name: Reboot if required
    reboot:
reboot_timeout: 600So if the package update changes something, the handler will run. Otherwise, it won’t.
Project Structure, Revisited
Once you start using roles, your project layout grows a playbooks/ directory and a roles/ directory alongside the inventory and config you already set up:
homelab-ansible/
├── ansible.cfg
├── inventory/
│   └── hosts.yml
├── playbooks/
│   └── system-maintenance.yml
├── roles/
│   └── maintenance/
│       ├── tasks/
│       │   └── main.yml
│       └── handlers/
│           └── main.yml
└── README.mdCreate a Maintenance role
To maintain a well-organized and reusable Ansible project, we’ve introduced a role called maintenance that handles system package updates across all hosts. By using roles, we can group related tasks and logic—in this case, routine system maintenance—into a dedicated, structured directory for better clarity and reusability.
Create Task
- name: Update APT package cache
  ansible.builtin.apt:
    update_cache: true
    cache_valid_time: 3600

- name: Upgrade all packages
  ansible.builtin.apt:
    upgrade: dist
    autoremove: true
    autoclean: true
notify: Reboot if requiredThis file defines the main tasks:
- Updates the APT cache
- Upgrades all packages
- Notifies the reboot handler if anything changes
Create Handlers
- name: Reboot if required
  ansible.builtin.reboot:
reboot_timeout: 600The reboot handler is triggered only when notified by the upgrade task. If changes are made during the upgrade, the handler will automatically reboot the host to apply updates that require a restart.
Create Playbook
- name: Perform system maintenance
  hosts: homelab
  become: true
  roles:
- maintenanceThis playbook:
- Targets the
homelabgroup in yourhosts.yml - Uses privilege escalation (
become: true) - Calls the
maintenancerole
Run the Playbook
From your project root:
ansible-playbook playbooks/system-maintenance.yml --ask-become-passIf your user has passwordless sudo, you can skip the --ask-become-pass flag.
Recap & What’s Next
You’ve now:
- Installed Ansible and set up SSH key access to your servers
- Created a clean project structure with
ansible.cfgand an inventory - Confirmed SSH connectivity with the
pingmodule - Learned what roles and handlers are and why they matter
- Created a reusable
maintenancerole with a task and a handler - Run a role-based playbook against your homelab
Next up: Variables, Facts & Templates — how Ansible collects information about your hosts and uses it to generate dynamic configuration files.